Showing posts with label Dessert. Show all posts

Sunday, May 18, 2014

Toasted Coconut Sorbet


It has been a long time since I posted about something that I made.  I usually post things that excite me and recently, I haven't felt compelled to share with you anything.  Today, however, I have found a recipe that REALLY is THAT good. 

Oh my.... this coconut sorbet will knock your socks off.  I used a recipe that didn't call for chunkiness in the final product, but I think that is a mistake.  The end product of this recipe is smooth, creamy with chunks of delicious fresh coconut that has been toasted perfectly.  You really must give it a try if you love coconut.  I also made Salted Coconut Sauce for on it, but to be honest, it doesn't need it.  If you want to make the sauce, it is delicious too, but save it for something like chocolate ice cream or over a crepe or something.  This sorbet really doesn't need anything extra.

You may think that using a whole coconut and preparing it is a lot of work, but in the end is it SO worth it.  If you just don't have time for that, you can always use flaked, unsweetened coconut.

Both recipes follow....


Toasted Coconut Sorbet {1 Quart}
 2 cans coconut milk, well shaken! (I used one full-fat and one low-fat)
 2 cups grated fresh coconut
 1 cup sugar
 dash salt

Prepare the coconut by following the directions in this video. Once you have the meat out of the coconut, grate it using a box grater. 
1) In a small pot, combine the coconut milk, flaked coconut and sugar with the dash of salt.
2) Bring to a simmer over medium-low heat and stir for about 2 minutes or until the sugar has dissolved.
3) Take the pot off of the heat and let sit until it has cooled.
4) Strain the mixture into a bowl, pressing all of the liquid out of the flaked coconut.
6)  Refrigerate the coconut sorbet base until cold.
5) Preheat your oven to 400 and put the flaked coconut on a cookie sheet.  Toast the coconut until light brown and fragrant approximately 10-15 minutes. Cool.
7) Freeze the coconut sorbet in an ice cream freezer according to manufacturers directions, or even just place in a large bowl and put straight into the freezer, stirring every half hour or so until it is the texture of soft serve. 
8)  After it is at the soft serve stage, add some of the cooled toasted coconut (and mini chocolate chips if you like... or almonds.... which are all not necessary, but a great addition) Save the extra coconut for garnish.
7) Let freeze until it is hard enough to scoop, and when ready to eat scoop and serve!

Salted Coconut Sauce

Ingredients

2 Tablespoons Coconut Oil
1 teaspoon kosher salt
1 cup white sugar
1 cup Cream of Coconut (I found this in the mixed drink mixers section of the grocery store)

Instructions

Put all ingredients in a medium saucepan and bring to a simmer over medium heat for about 7 minutes or until the sugar has dissolved.  Use warm or chill and then warm it a bit in the microwave.


Photobucket

Saturday, June 22, 2013

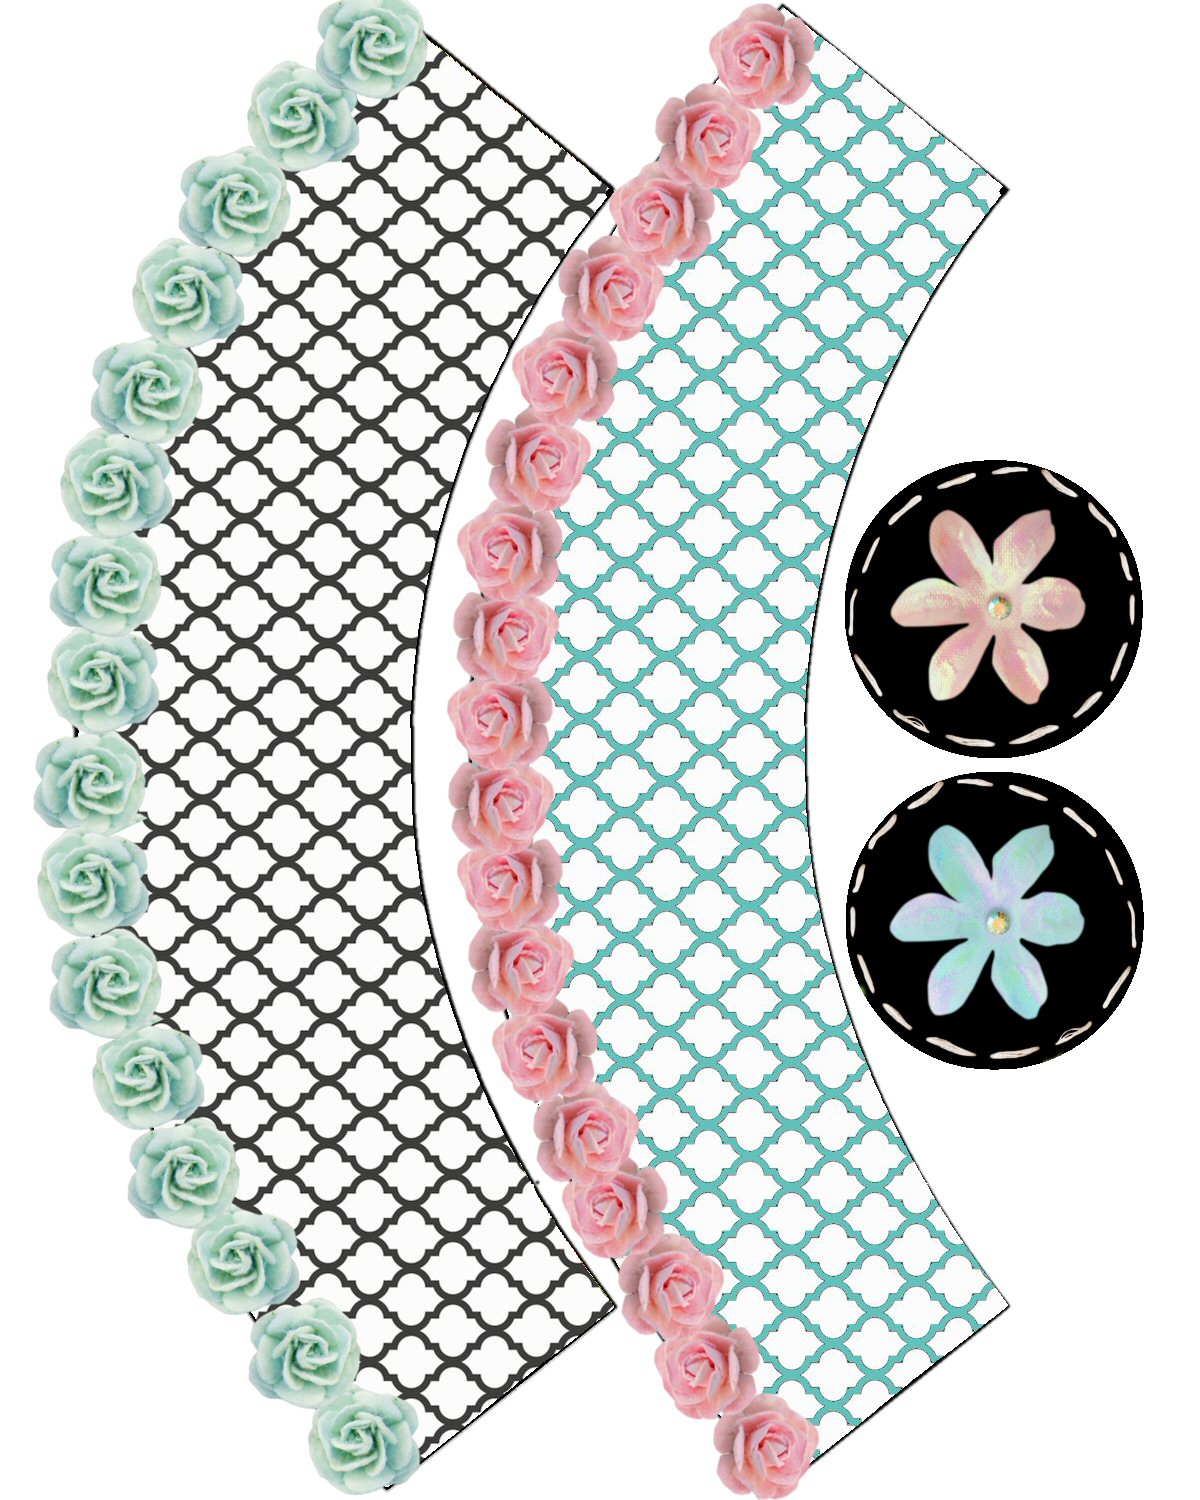
Pretty Posey Cupcake Wrapper Freebie

 I see this wrapper used for baby showers, or maybe a girly tea, but really it could be used for anything.  I think it is adorable!  I may have to come up with a party just so I can use it.

If you need directions regarding how to use these wrappers, go here.


I have been using the Reynold's Stay Brite cupcake papers.  They are AWESOME! They are lined with aluminum foil type of stuff and they actually really keep their cuteness after they are baked.  The paper ones always soak through and lose their prettiness after they are baked. 

Here are a few cupcakes I made using these baking cups. These were actually baked in these cups!


Anyway, here is a link to the Reynold's papers.  I love them.  You may be able to find them in your grocery store too.  I am going to look at Walmart to see if they have them.  I will let you know.


Reynolds Stay Brite Baked for You Sophisticated Bake Cups 36 Ct 2 Packs


Photobucket

Sunday, September 23, 2012

Pumpkin Cheesecake Muffins

Mmmmm..... I had been thinking about making pumpkin bread, pumpkin muffins, pumpkin mousse, etc. etc. for a while now.  Fall is finally here.  Our leaves have begun to change in upstate NY and the weather at night is getting cooler.  The sweater and riding boots have come out and I am ready for PUMPKIN!  I bookmarked and pinned A LOT of recipes, so I pulled up the first one I saw and made them today.   I don't know if I need to move on in the list of pumpkin recipes.  This one is so good and so easy that I think I will make it again!

Check these out!


The swirl of the vanilla cheesecake mixed in lightly with the spicy pumpkin batter is a perfect mix of fall goodness!  I found this recipe on instructables.com. If you are comfortable with just following the recipe, you can check mine out.  I made a few changes to the recipe and it turned out perfectly, so I will tell you that I tried to make them a little more healthy and used whole wheat flour rather than white.  I also replaced the white sugar with brown just because I had no white sugar on hand and it was delicious!

Here is a link if you would like to see the STEP by STEP tutorial. 

Here is the recipe as I made it.

Pumpkin Muffin

1- 15 oz can pumpkin
1/4 cup canola oil
2 jumbo eggs
1 cup dark brown sugar
1 tsp vanilla
1-1/2 cups whole wheat flour
1 tsp baking powder
1/2 tsp baking soda
1/2 tsp cinnamon
1/2 tsp ground ginger
1/2 tsp nutmeg
1/8 tsp ground cloves
1/2 tsp salt
1/4 tsp freshly ground black pepper

Filling

8 oz cream cheese at room temperature
1 jumbo egg yolk
5 tbsp sugar
1/2 tsp vanilla extract

Preheat oven to 350 degrees.

Mix pumpkin, oil and sugar together on low.  Add in eggs and vanilla and mix in.  Mix dry ingredients into wet ingredients.  Combine thoroughly and scrape the sides of the bowl until well combined.

Make the filling:

Mix together cream cheese, sugar, egg yolk and vanilla until combined.

Assemble:

Line your muffin tins with paper cups (or grease your muffin tins if you don't want to use paper cups).  Drop in spoonfuls of pumpkin mixture to fill about 1/2 way.  Add smaller spoonfuls of cream cheese mixture to top to fill the cup to about 3/4 full.  Use a skewer or spoon handle to swirl.

Bake:

Mini muffins:  20-25 minutes
Standard muffins:  25-30 minutes
Jumbo muffins:  30-40 minutes


Photobucket

Wednesday, December 21, 2011

Kid's Hot Cocoa Birthday Party

My son's 9th birthday happens to fall right before Christmas, so this year we moved his party ahead and celebrated early.  Why didn't I do this before?  It gave me a lot of time to prepare and we had a blast getting ready instead of putting this on top of present wrapping and Christmas parties & dinners.

I decorate mostly in red, white and light blue for Christmas, so I decided to go with those colors for his party too.  I am sure the pictures speak for themselves.  Everyone had a good time and the cocoas (especially the Nutella cocoa) were yummy!

I found a lot of these ideas on the internet by searching for hot cocoa party!


These cups are made using those GIANT marshmallows!


The table is wrapped with wrapping paper.


Did I mention that my son has a large personality?

The cake is a Mario Power-UP mushroom.  I just baked a cake in a large metal mixing bowl, put it on top of a cake stand, covered it with chocolate icing, rolled fondant and painted eyes on the bottom of the cake stand with chocolate.
Happy birthday, to my little one!

Photobucket

Monday, July 11, 2011

Coconut Macaroon Recipe

It is official... I am crazy.  I had always thought so, but this makes it real;  I chose one of the hottest days of year on which to bake cookies. 

I found some organic, unsweetened coconut at our local bulk food store and had to buy it because I had seen a recipe for macaroons in my library book,
"Baking at Home" from the Culinary Arts Institute.   It really is a nicely written book and helps even the most basic baker with the most basic baking methods. 

So, I set out to make the coconut macaroons today, which is 84 degrees F, but feels like 95 with the humidity.  Luckily, the recipe only takes about 20 minutes to make and the dough comes together relatively quickly. 

The thing I like about this recipe is that there is none of that overly sweet sweetened-condensed milk in them.  The recipe is pretty simple if you have coconut and an orange, you probably have everything else needed to make them.  I may dip them in chocolate next time, but this time, we are enjoying the nice citrus flavor with the coconut.


So, here is the recipe as I have adapted it from the CIA cookbook.  The first batch I made was a bit too hard for my liking.  I enjoy the center soft and the outside chewy.

1 cup sugar (divided)
2 Tbsp all-purpose flour
3 1/2 c. shredded unsweetened coconut
6 large egg whites
2 tsp grated orange zest
2 tsp vanilla extract

Makes about {25 macaroons} {This was my change.  I made them bigger so they would stay softer inside.  The CIA says you should make about 32}

Preheat the oven to 350F.  Line cookie sheet with {silpat} or parchment paper.  Combine 1/3 cup of the sugar with the flour and set aside.

Combine the remaining 2/3 cup sugar, the coconut, and the egg whites on the top of a double boiler and stir for 3 minutes.  {I just put them in a pot and stirred constantly over low heat until the ingredients came together.  A double boiler is not necessary if you are sure to use really low heat} Remove from heat.  Fold in the flour mixture, orange zest and vanilla extract.

Drop tablespoonfuls of batter {I liked them on the bigger side (1 1/2 Tbsp) because they stayed softer} onto the cookie sheets spacing them 2-inches apart and shaping into neat mounds. {I didn't space them two inches apart.  I put them about 1/2 an inch from each other and they cooked just fine and didn't spread at all.  This way, I could bake them quicker on a hot day by fitting them all on one cookie sheet} 

In batches, bake until the macaroons are a light golden brown on the outside, but still soft enough to give slightly when you press on them with your fingertip, 20-25 minutes. {start checking at 15 minutes because if you make them on the smaller side, they will be done quickly.} Transfer macaroons to a wire rack to cool completely.

{Enjoy one while they are still warm!}

If you are interested in the book, you can check your library or buy it here.  I have enjoyed everything I've made from it so far.
Baking at Home with The Culinary Institute of AmericaBaking at Home with The Culinary Institute of America
Bob's Red Mill Shredded Coconut Unsweetended, 12-Ounce Bags (Pack of 4)Bob's Red Mill Shredded Coconut Unsweetended, 12-Ounce Bags (Pack of 4)


Photobucket

Saturday, July 9, 2011

Magnolia Bakery in NY City - SoHo

My family and I took a day trip to the Soho and Tribeca neighborhoods of NY City yesterday.  It was a humid and rainy day, but that didn't stop us! We walked the neighborhoods like troopers with umbrellas and rain ponchos.  Some of our stops were Peep for Thai food for lunch (awesome bathroom!), Macbar for dinner (perfect with kids!)

and we trekked up to Magnolia Bakery which is on the corner of Bleecker Street and West 11th. 

My husband was completely amazed that there was a huge line around the corner in the rain, just for cupcakes!  He was also amazed that they had the cupcake bouncer; a woman, wearing what could have easily been interpreted as a referee shirt, whom was keeping the line and making sure nobody cut in front of the line.  He thought the women  (and he himself) waiting in line must be crazy. 

We finally got inside and were able to make it inside and amid the chaos. I could barely take a picture due to the crowd.  There were probably 15 people at a time in the store and it was basically standing-room only.  I'm thinking there must be some seriously good cupcakes or perhaps just a lot of hype.  We squeezed to the boxes and chose 2 cupcakes (pistachio and vanilla with chocolate buttercream) and an apple crisp and a flourless cake for me.  They put them in a pretty white shopping bag with their logo on it and we were off.  
This is the only picture I could get from the cash register.  LOL!  Cute t-shirts though, right?
Unfortunately it was so rainy that we couldn't stop anywhere and eat our cupcakes after we got them, so we decided to bring them home.  Well, even with an umbrella, the shopping bag was ruined from the rain and the cupcakes had to be shoved into a Macbar plastic bag so they wouldn't get ruined too. 

We carried them onto the subway, onto the train back to NJ and home 3 hours.  They were a but smushed by the time we got home.

  This morning, my boys and I cut the vanilla with chocolate buttercream and the pistachio into 3rds so we could all try them.  The cake is wonderfully heavy and "wedding cakey" and the icing... omg... so good!  The pistachio icing was more like an Italian buttercream I recently made.  Thick and buttery and less sweet than you would think.   The chocolate was fudgy and thick and ganache-like.  Mmmm!  We haven't tried flourless cake and apple crisp yet.... I'll let you know.  You should really try this place if you get a chance!

Update:  We also tried the apple crisp and the flourless chocolate cake.  While the apple crisp had much more crumble than I like, my son devoured the whole thing minus the bite I took.  He loved it.  The flourless cake was also sugarless, I think.  If you love a dark chocolate with a low amount of sugar in it, you are sure to like this.  The % of sugar was a low for me and I love dark chocolate...  it was much like eating a cocoa cake.  My husband LOVED it and enjoyed most of it himself.  I'm sure he would get it again!
Photobucket


Blog Widget by LinkWithin